Most
would remember the days we had to have a CDROM or DVDROM in order to
proceed with the installation of an operating system. Today, it is very
common installing an operating system direct from an ISO image. When
dealing with virtualized systems, it becomes pretty much a necessity.
This
article will show how to install Windows Server 2012 (the same process
can be used for almost all other operating systems) from a USB Flash.
The
only prerequisite for this process to work is that you have a USB Flash
big enough to fit the ISO image and the server (or virtualization
platform) supports booting from a USB Flash. If these two requirements
are met, then it’s a pretty straight-forward process.
FREE Hyper-V Virtualization Backup: FREE for Firewall.cx readers for a Limited Time! Download Now!
The Windows 7 USB-DVD Tool
The Windows 7 USB/DVD Tool is a freely distributed application available in our Administrator Utilities download section.
The application is required to transfer/copy the ISO Image of the
operating system we want to install, to our USB Flash. The application
is also able to burn the ISO image directly on a DVD – a very hand
feature.
Download a copy, install and run it on the computer where the ISO image is available.
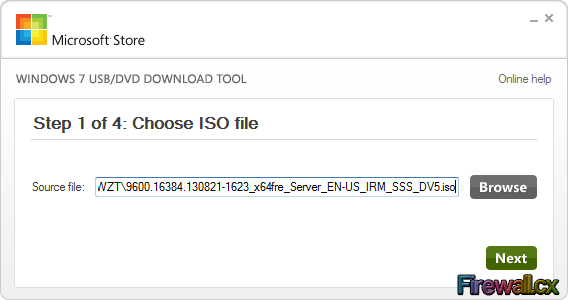
When the tool runs, browse to the path where the ISO image is located. Once selected, click on Next:
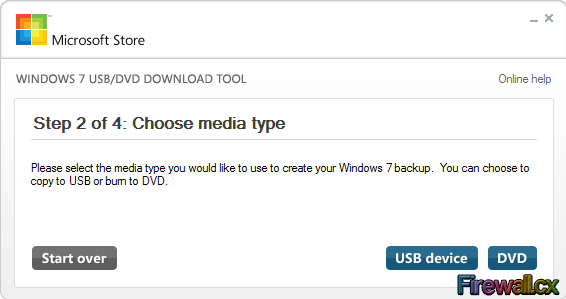
At this point, we can choose to copy the image to our USB device (USB Flash) or directly on to a DVD. We select the USB Device option:
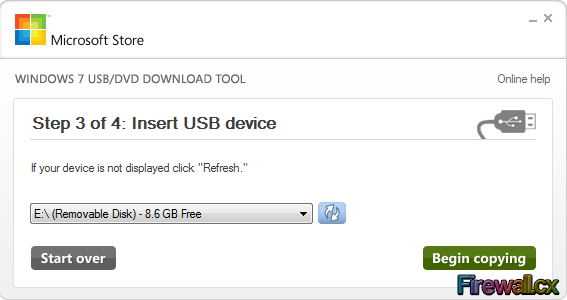
In
the next screen, we are required to select the correct USB device. If
there are more than one USB storage devices connected, extra care must
be taken to ensure the correct USB Flash is selected. In case no USB
Flash has been connected, insert it now into your USB port and click on
the refresh button for it to appear:
After selecting the appropriate USB device, click on Begin Copying to start the transfer of files to the USB Flash:
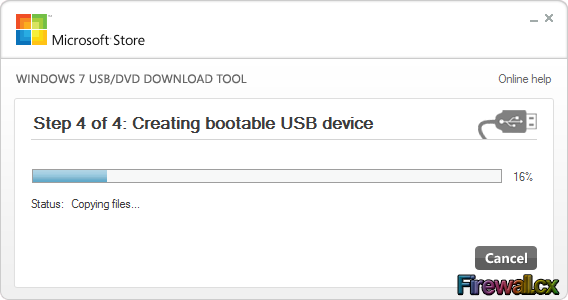
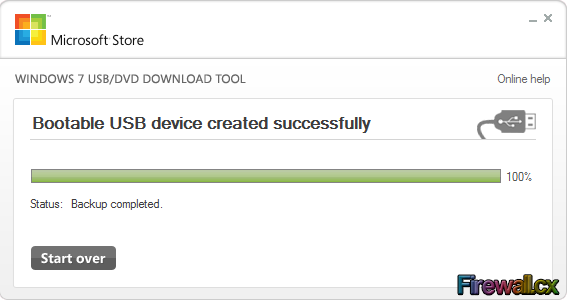
Once the copy process is complete, we are ready to remove our USB Flash and connect it to our server:
No comments:
Post a Comment